Today my daughter Lilly made this pumpkin cutie to hang in our window for fall. It is a project I made up when I taught Elementary school. I always loved making them. Below I have done a tutorial so that you can make them with your children and/or students. Enjoy!

Supplies you will need:
two large sheets of orange tissue paper
a wire coat hanger
white glue
scissors
brown paper bag
construction paper
marker

Step 1:
bend the coat hanger into a circle or oval shape to resemble a pumpkin,
bend the hook at the top closed to use as a hanger

Step 2:
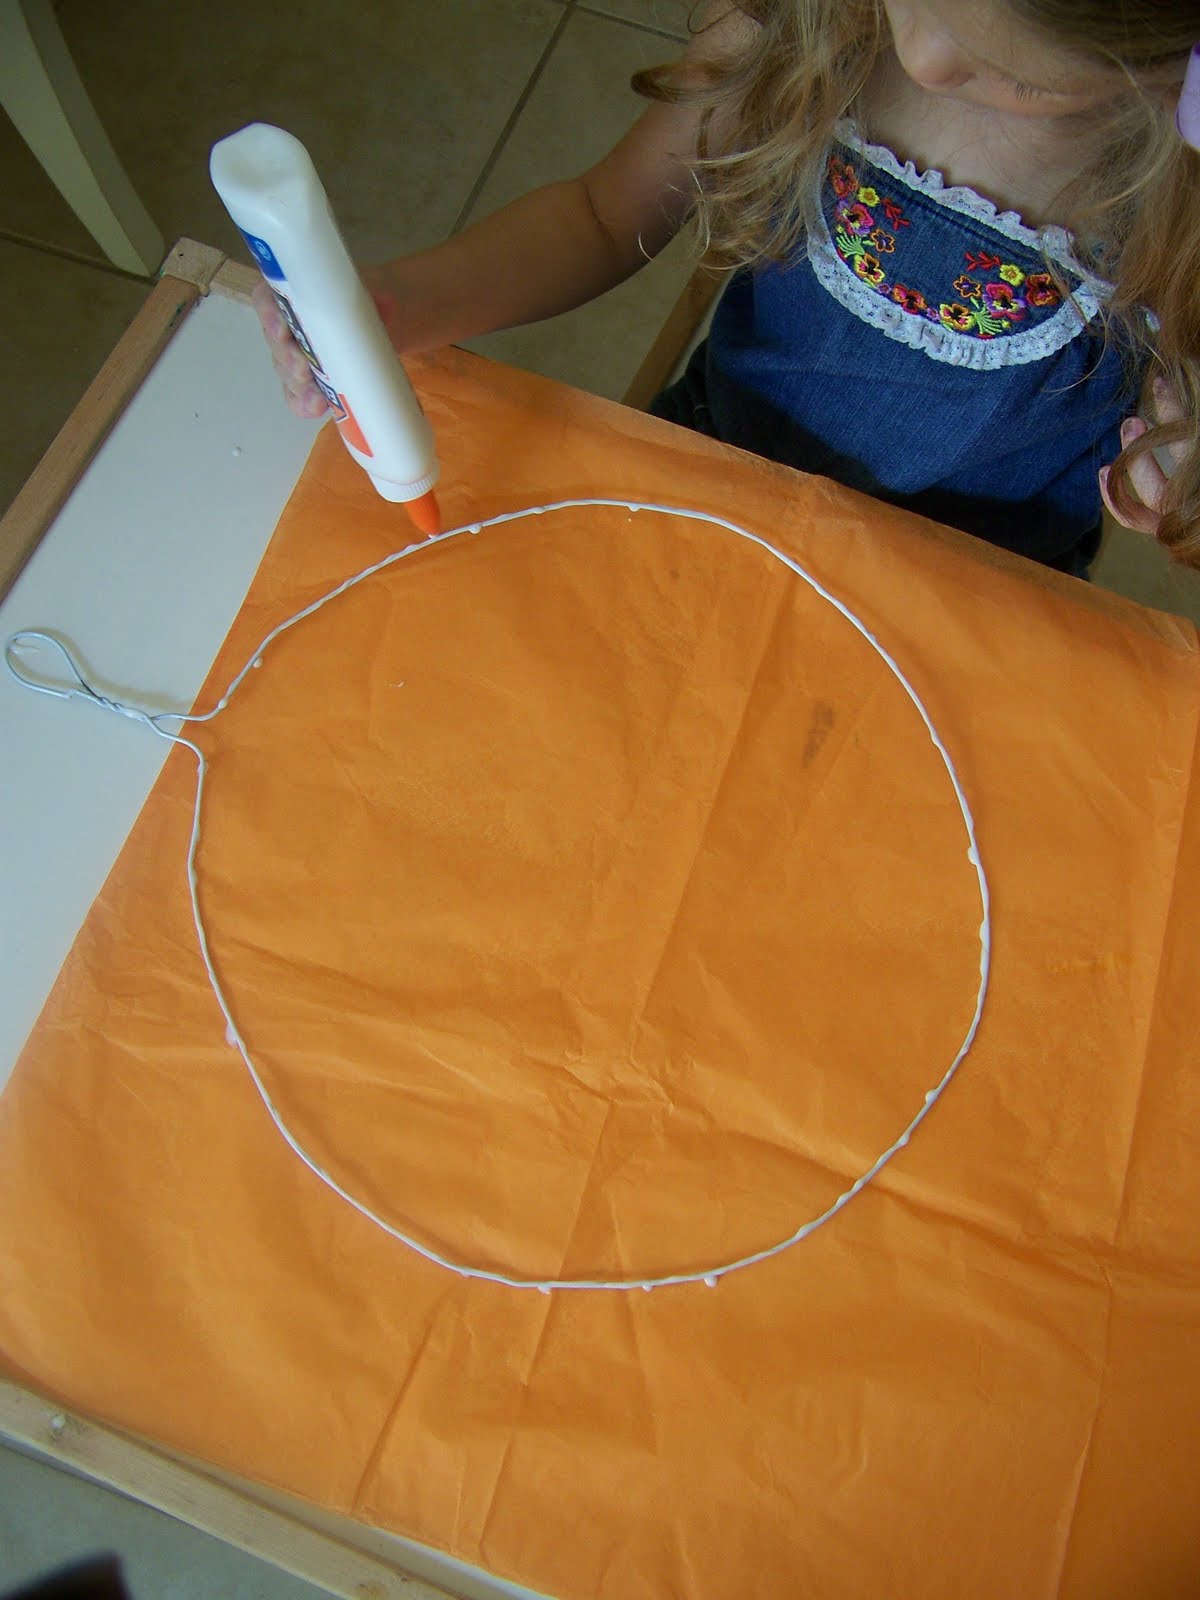
trace the hanger with white glue,
turn the hanger over and lay it on top of the tissue paper (with the hanger sticking out over the top of the tissue)

Step 3:
trace the other side of the hanger with glue,
lay the second sheet of tissue paper on top of the hanger so that the hanger is sandwiched between the two sheets
at this point the hanger is at the top sticking out of the tissue and there is excess tissue at the bottom of the pumpkin (see picture below)
set aside and let it dry

Step 4:
use scissors and trim the left side, right side and top of the pumpkin,
leaving the long tissue at the bottom,
cut the excess tissue into strips (like streamers)
my daughter is 3 so I used a pencil to draw lines for her to cut on

Step 5:
cut eyes and a nose out of construction paper,
I have also used buttons and foam pieces for this step,
use a marker to draw a mouth

Step 6:
cut the paper bag into skinny strips and glue them on as hair,
you could use raffia or yarn for the hair instead if you choose

Lilly finished off her pumpkin with a big blue bow (Lilly always wears a bow) When I had my students do this project we put a construction paper hat on the pumpkin. You could also put a bow tie on your cutie. When you finish it looks great hanging in a window or from the ceiling. Happy Fall. Have fun creating with your kids!
Love, Molly


 So I decided to jump on the fabric pumpkin bandwagon. Have you seen how many versions are out there in blogland? I used Danielle Thompson's tutorial, based on one from Martha Stewart Living November 2009 issue. Mine don't hold a candle to Danielle's but they aren't so bad and they were really fun to make. You can even get your kids involved. Lilly stuffed our pumpkins for me. When we were working on them she said "Mommy, when I grow up I want to be a pumpkin stuffer." Never heard that one before :) Hope you all are having a fun fall so far.